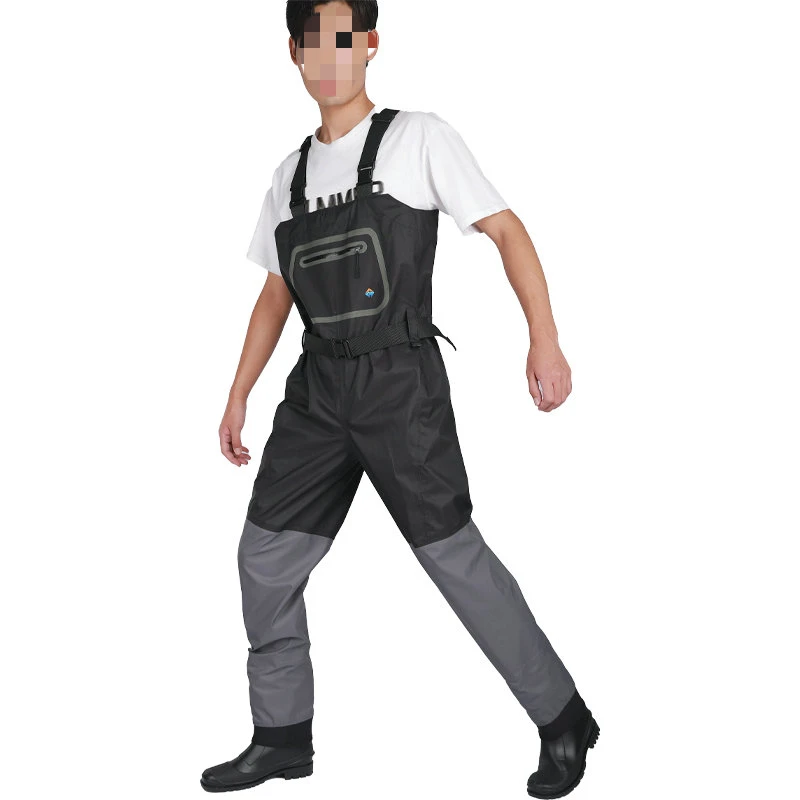
Adding Studs to Wading Boots Enhancing Grip and Stability for Anglers
When it comes to wading in rivers, streams, or lakes, having the right equipment is essential for both safety and comfort. One often-overlooked aspect of wading gear is the footwear—specifically, the importance of traction. Regular wading boots do a decent job on dry land, but when you step into slippery, submerged rocks or muddy banks, the need for superior grip becomes paramount. This is where adding studs to wading boots comes into play.
Why Add Studs?
Wading boots without adequate traction can lead to slips and falls, potentially resulting in injuries or dangerous situations while out in the water. Many traditional wading boots feature felt soles or rubber outsoles, which may not provide enough traction in certain conditions. By adding studs, you can significantly increase the grip of your boots, allowing you to traverse wet and slippery surfaces with confidence.
Studs are typically made from materials like tungsten carbide or stainless steel, offering durability and a robust grip. They penetrate the slick surfaces of rocks and mud, providing additional friction that helps keep you stable while wading. Whether you are fishing in a fast-moving river or navigating rocky shorelines, the right studs can make all the difference in your safety and performance.
Choosing the Right Studs
When selecting studs for your wading boots, consider the type of water conditions you’ll be facing. For rocky and gravelly bottoms, longer studs may be beneficial as they offer greater penetration and grip. Conversely, if you are wading in soft, muddy environments, shorter studs may suffice.
Moreover, pay attention to the spacing and configuration of the studs. A well-spaced arrangement can prevent clumping of mud or debris that might hinder traction. It's also essential to choose studs that are compatible with your specific wading boots, ensuring they can be securely installed without damaging the material.
Installation Tips
adding studs to wading boots

Adding studs to your wading boots can be a straightforward process if you follow a few basic steps
1. Gather Your Materials In addition to the studs you’ve chosen, you’ll need a drill with the appropriate bit for creating holes in your boot soles, a wrench for securing the studs, and possibly a marker for positioning.
2. Mark the Placement Before drilling, decide on the placement of each stud. A good rule of thumb is to place studs in areas where you typically make contact with slippery surfaces, such as the toe and heel, and along the arch of the boot.
3. Drill Holes Carefully drill holes in the marked spots on your sole. Ensure the holes are clean and not too wide, so the studs can fit snugly without falling out.
4. Insert the Studs Following the manufacturer's instructions, insert the studs into the drilled holes. Use the wrench to tighten them securely, but avoid overtightening, as this may damage the boot.
5. Test for Stability After installing the studs, try out your wading boots in a controlled environment before heading out. It’s crucial to ensure that the studs provide the grip you expect.
Conclusion
Enhancing your wading boots with studs is a simple yet effective way to bolster your stability and safety while fishing or wading in various water conditions. By taking the time to choose the right studs and installing them properly, you can enjoy your time outdoors, knowing you’re equipped to handle slippery terrains. Safe wading not only improves your overall experience but also increases your success on the water, allowing you to focus on what truly matters—landing that big catch!
-
Stay Dry in Any Condition with WadersNewsJul.17,2025
-
Elite Performance with Camouflage Combat BootsNewsJul.17,2025
-
Dry and Comfortable with Green Rubber Garden ShoesNewsJul.17,2025
-
Convenient Protection with Foldable RainbootsNewsJul.17,2025
-
Comfort and Protection with Neoprene Work BootsNewsJul.17,2025
-
Brighten Rainy Days with Floral Rain BootsNewsJul.17,2025
-
Safety Wellies: The Ultimate Combination of Protection, Comfort, and VisibilityNewsJun.19,2025


